Lace nail art is officially the #1 most viral nail trend of 2026 — and it is not hard to see why! These incredibly delicate, romantic designs look like they belong on a runway model or a bride on her wedding day. But here’s the secret: you don’t need a professional nail technician or an expensive salon visit to achieve them.
Pinterest searches for lace nail art have increased by an astonishing 450% in 2026, making it the fastest-growing nail trend of the year. Everyone from celebrities to everyday nail enthusiasts is obsessing over these beautiful, intricate designs.
In this complete step-by-step tutorial, we will show you exactly how to create stunning lace nails at home — even if you have never done nail art before. We’ll cover multiple techniques, different lace styles, and everything you need to know to achieve perfect results every single time.
Ready to create the most beautiful nails of your life? Let’s get started! 💅
What Are Lace Nails?
Lace nail art is a style of nail design that mimics the intricate, delicate patterns found in traditional lace fabric. The designs typically feature fine lines, floral motifs, scalloped edges, and geometric mesh patterns — all inspired by the elegance of lace.
What makes lace nails so special is their versatility. They can be ultra-romantic and bridal, edgy and gothic, or soft and minimalist — depending on the color combination and pattern you choose. This is why they appeal to such a wide range of nail art lovers!
| ✨ Fun FactLace nail art first became popular in the 1920s as a nod to the Art Deco movement. Nearly 100 years later, it has made a massive comeback and is now the defining nail trend of 2026! |
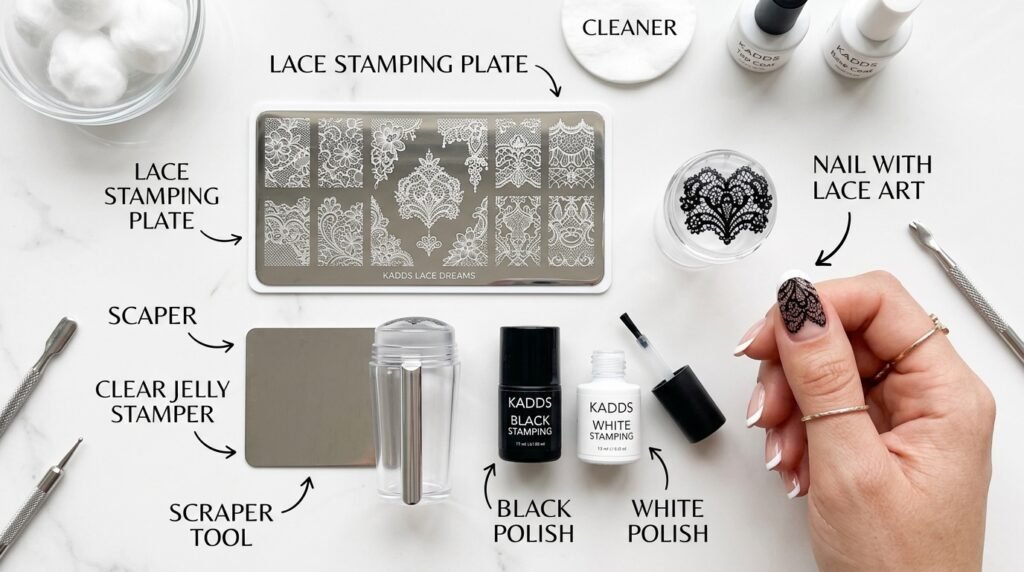
🛠️ Tools & Materials You Will Need
Before we begin the tutorial, let’s make sure you have everything you need. Don’t worry — most of these items are very affordable and easy to find!
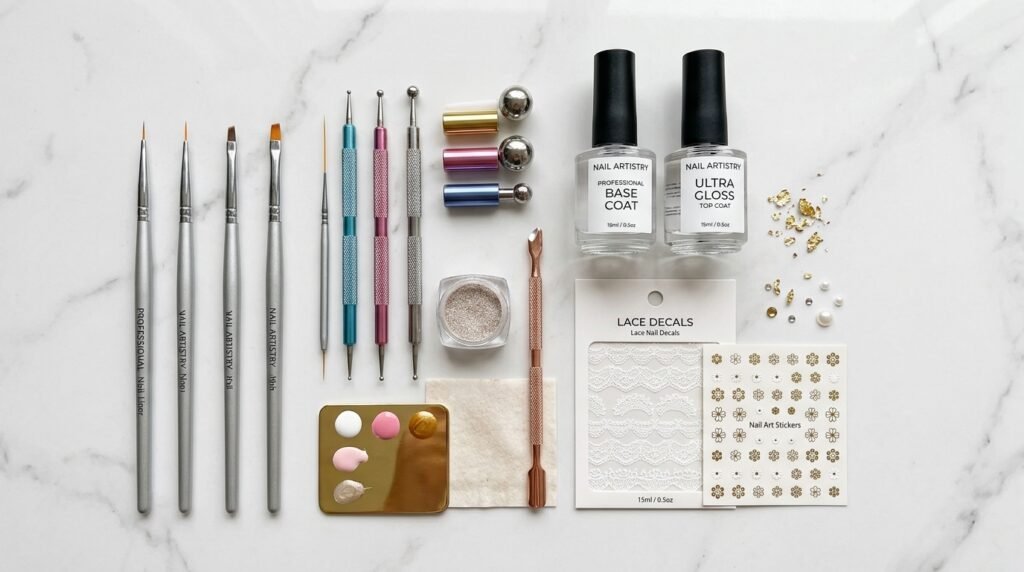
Essential Tools
- Base coat — protects your nails and helps polish adhere better
- Nail polish in your chosen base color (nude, cream, pink, or black)
- White nail polish or nail art paint for lace patterns
- Top coat — seals and protects your finished design
- Fine nail art liner brush — the most important tool for freehand lace
- Dotting tool — for creating perfect dots and circular details
- Nail art tape or reinforcement stickers — for clean edges
Optional But Helpful
- Lace nail stickers or decals — the easiest beginner method
- Lace nail stamping plate and stamper — for consistent patterns
- Nail art pen — great for very fine detail work
- Acetone and small cleanup brush — for fixing any mistakes
- UV/LED lamp — if you are using gel products
| 💡 Budget TipYou do not need to buy everything at once! Start with lace nail stickers for your first attempt — they are the easiest method and cost very little. Once you feel confident, you can invest in liner brushes and stamping tools for freehand techniques. |
Method 1: Lace Nail Stickers — Easiest Beginner Method ⭐
This is the absolute easiest way to achieve stunning lace nails — perfect if you are a complete beginner or simply short on time. The results look incredibly professional with minimal effort!
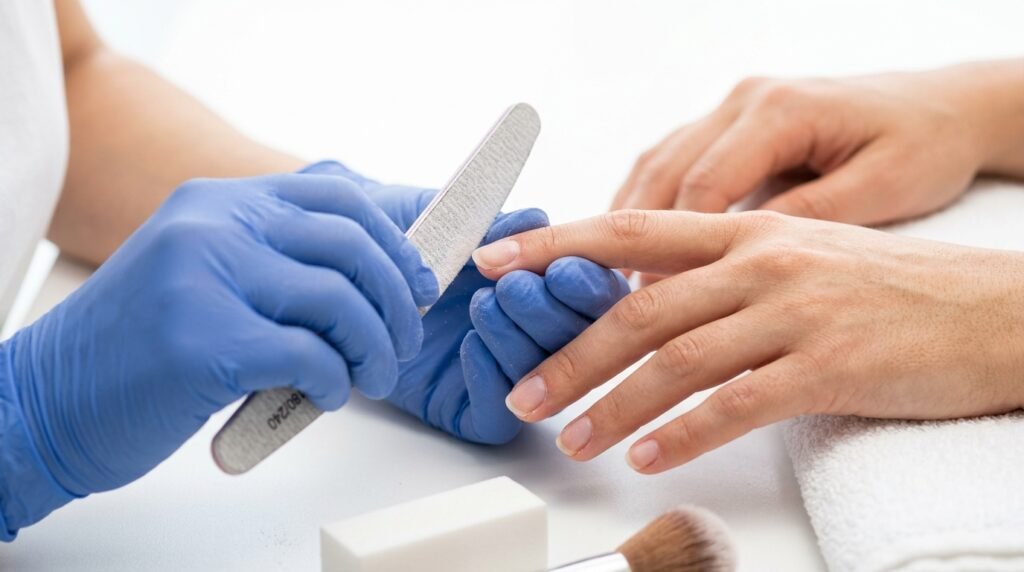
Step 1: Prep Your Nails
Start by removing any old polish completely. File your nails into your desired shape — almond or oval shapes look especially beautiful with lace designs. Gently buff the nail surface to create a smooth base, then push back your cuticles. Wash your hands thoroughly and make sure your nails are completely clean and dry before starting.
Step 2: Apply Your Base Coat
Apply one thin, even layer of base coat to all your nails. This crucial step protects your natural nails from staining and helps all subsequent layers of polish adhere better and last longer. Allow it to dry completely — approximately 2 minutes — before moving on.
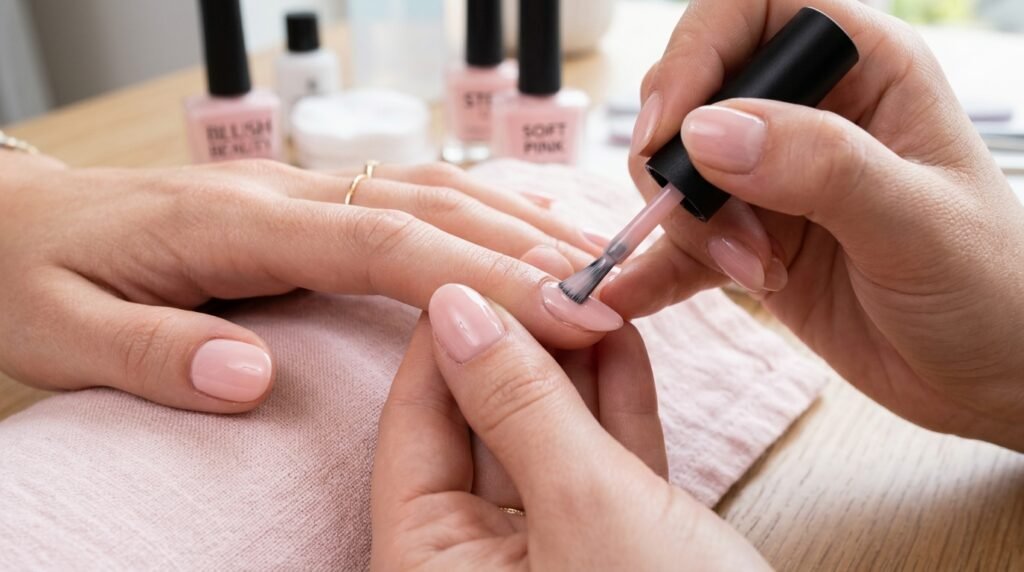
Step 3: Apply Your Base Color
Apply 2 thin coats of your chosen base color. For lace nails, the most popular choices are soft pink, nude, cream, or classic white. Allow each coat to dry fully before applying the next. A nude or light pink base creates a romantic, feminine look, while black creates a dramatic, gothic lace effect.
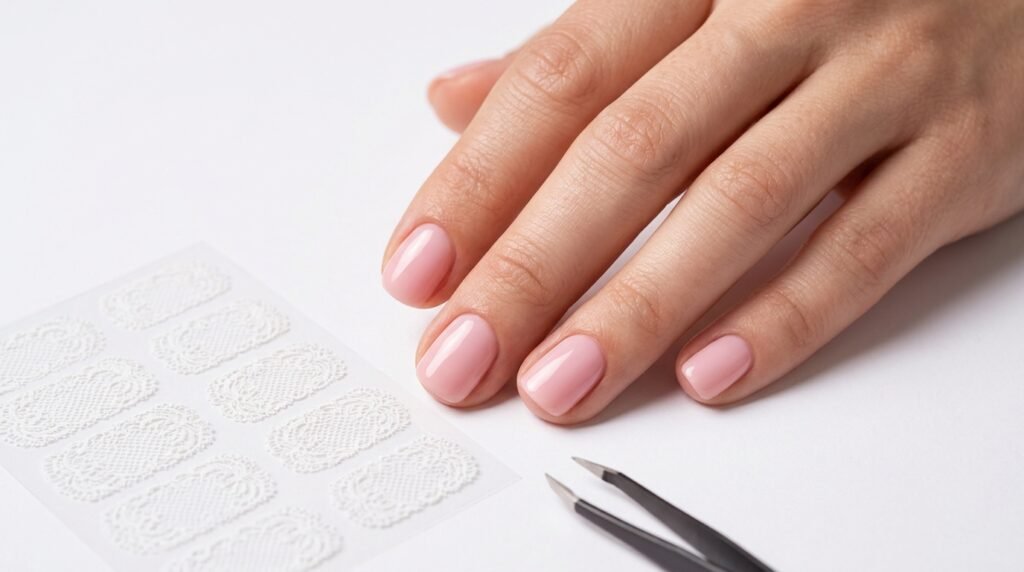
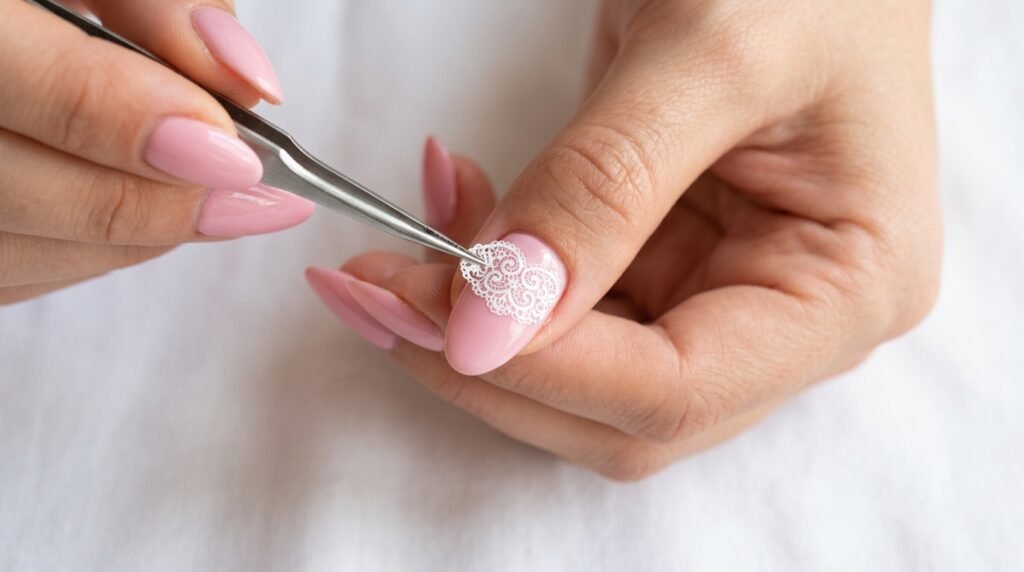
Step 4: Apply the Lace Sticker
Once your base color is completely dry, carefully peel one lace nail sticker from the sheet. Using tweezers for precision, position the sticker over your nail and press it down gently from the center outward to avoid any air bubbles. Use a small dotting tool or your fingernail to press down the edges firmly.
Trim any excess sticker that extends beyond your nail edge using small scissors or a nail file. Take your time with this step — careful placement is what separates a good lace manicure from a great one!
Step 5: Seal with Top Coat
Apply a generous layer of top coat over the entire nail, making sure to cover the edges of the sticker completely. This seals the design and prevents lifting or peeling. Apply a second coat of top coat after the first has dried for maximum longevity.
| 💡 Pro TipApply top coat every 2 days to keep your lace nails looking fresh and chip-free for up to 2 weeks! |
Method 2: Nail Stamping — Intermediate Level
Nail stamping is a fantastic technique that allows you to create consistent, perfectly detailed lace patterns on every nail. It takes a little practice but delivers absolutely beautiful results once you get the hang of it!
Step 1: Choose Your Stamping Plate
Select a stamping plate that features a lace pattern you love. There are hundreds of different lace designs available — from delicate floral lace to bold geometric mesh. Look for plates that are specifically labeled as ‘nail stamping plates’ as they have deeper engravings than regular embossing tools.
Step 2: Apply Stamping Polish to the Plate
Apply a generous amount of stamping polish directly onto the lace design on the plate. Use a scraper card to remove the excess polish with one swift, clean stroke — this leaves polish only inside the engraved pattern. Work quickly as stamping polish dries fast!
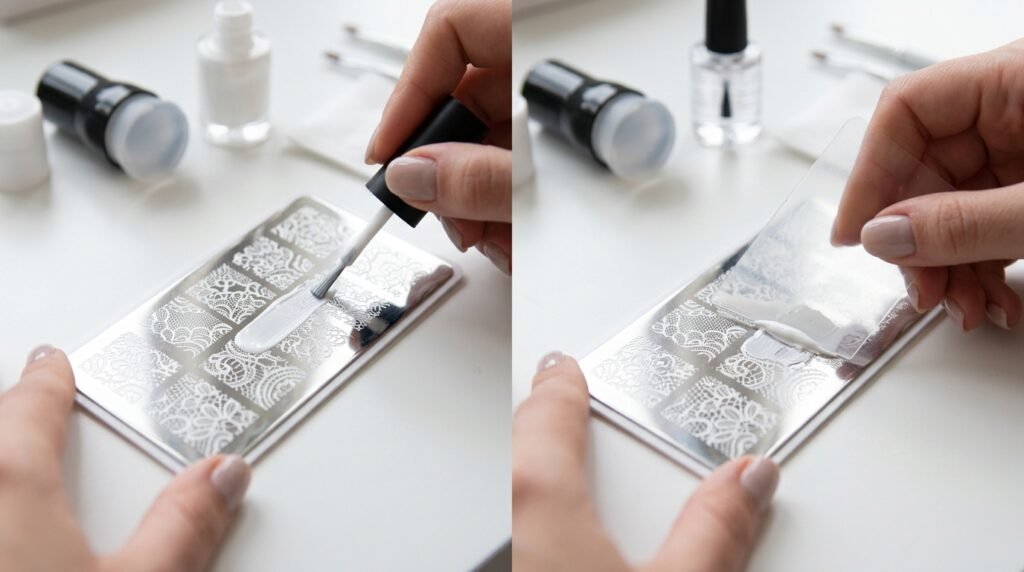
Step 3: Pick Up the Design and Stamp
Press your stamper firmly and directly onto the inked design on the plate, then roll it slightly to pick up the full pattern. Immediately press the stamper onto your nail with firm, even pressure. Lift straight up — do not drag or slide. The lace pattern should transfer perfectly onto your nail!
Step 4: Clean Up and Seal
Use a small brush dipped in acetone to clean up any polish that got onto your skin or cuticles. Once you are happy with the design on all nails, apply a generous top coat to seal everything in place.
| 💡 Stamping TipIf the pattern is not transferring well, try rolling the stamper slightly as you pick up the design. Also make sure your base color is completely dry before stamping — wet polish will smear the design. |
Method 3: Freehand Lace — Advanced Level 🎨
If you want to create truly unique, one-of-a-kind lace nail art, freehand painting is the ultimate technique. It requires practice and patience, but the results are absolutely stunning and completely personalised!
Step 1: Plan Your Design
Before you start painting, sketch your lace pattern on paper first. Keep the design simple to start — a scalloped edge at the tip of the nail with small dots or a simple floral pattern is perfect for beginners. Look at real lace fabric or lace nail art on Pinterest for inspiration.
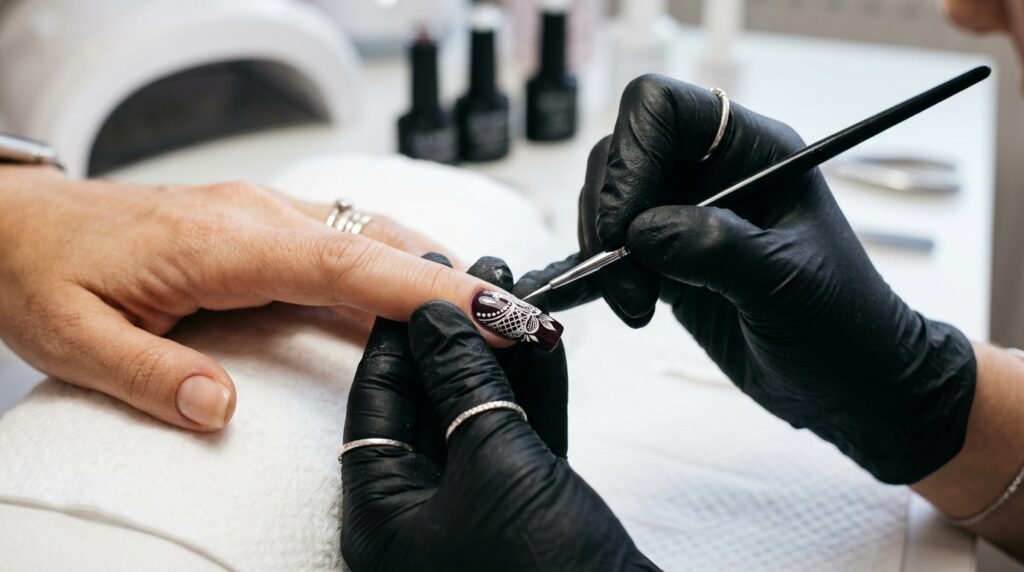
Step 2: Paint the Outline First
Load your thin liner brush with a small amount of white nail art paint. Start by painting the outline of your lace pattern — the outer border or scalloped edge first. Use light, confident strokes and rest your painting hand on a stable surface to keep it steady. Take your time — there is no rush!

Step 3: Fill in the Details
Once your outline is dry, begin adding the internal details — the mesh pattern, tiny flowers, dots, and delicate lines that make lace look so intricate. Work from the outside edge inward, building up the pattern layer by layer. Remember that imperfection is part of the handmade charm!
Step 4: Add Final Touches
Once the main pattern is complete and dry, add any finishing touches — tiny dots of white along the border, a few extra fine lines for depth, or small rhinestones for a glamorous effect. Step back and admire your work before applying the top coat!
| 💡 Freehand TipIf you make a mistake, don’t panic! Dip a small brush in acetone and carefully remove the error while the paint is still slightly wet. Freehand nail art is all about practice — every attempt will look better than the last! |
🎨 Popular Lace Nail Styles to Try
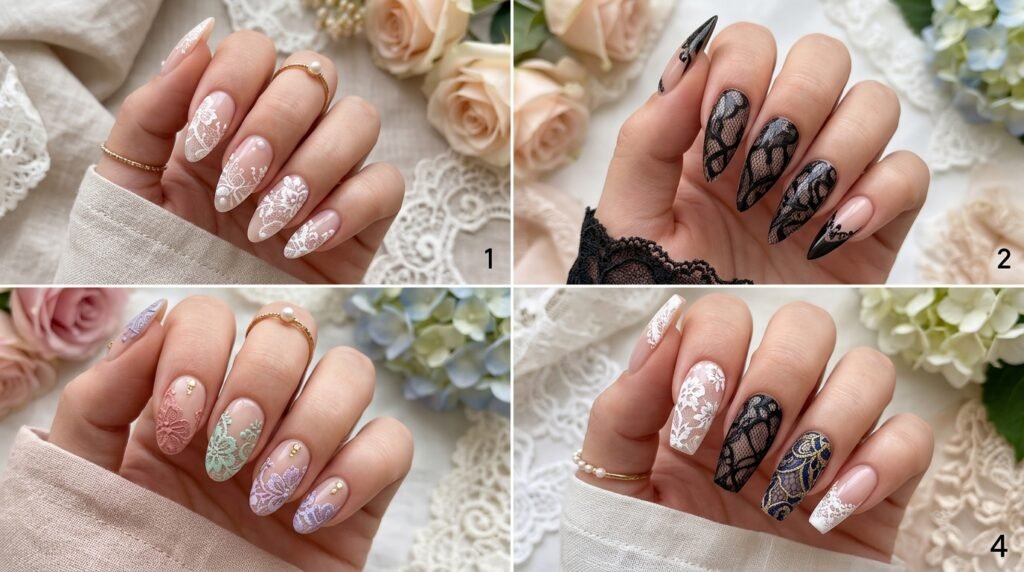
White Lace on Pink — The Classic Romance
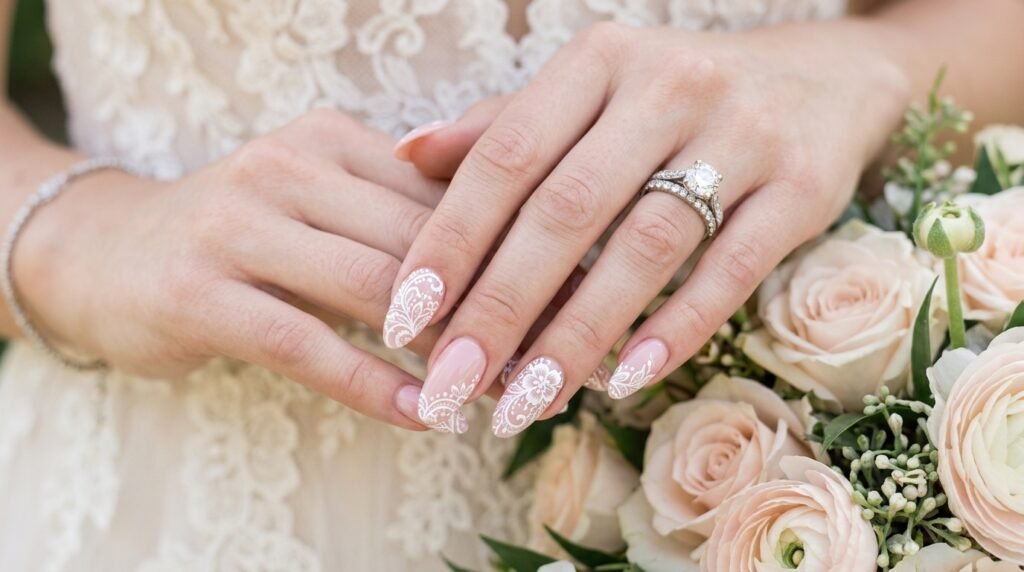
The most classic and universally loved lace nail combination — white lace patterns on a soft pink or blush base. This look is timelessly elegant and works beautifully for weddings, engagements, date nights, and everyday wear. It is feminine, romantic, and absolutely gorgeous on every skin tone.
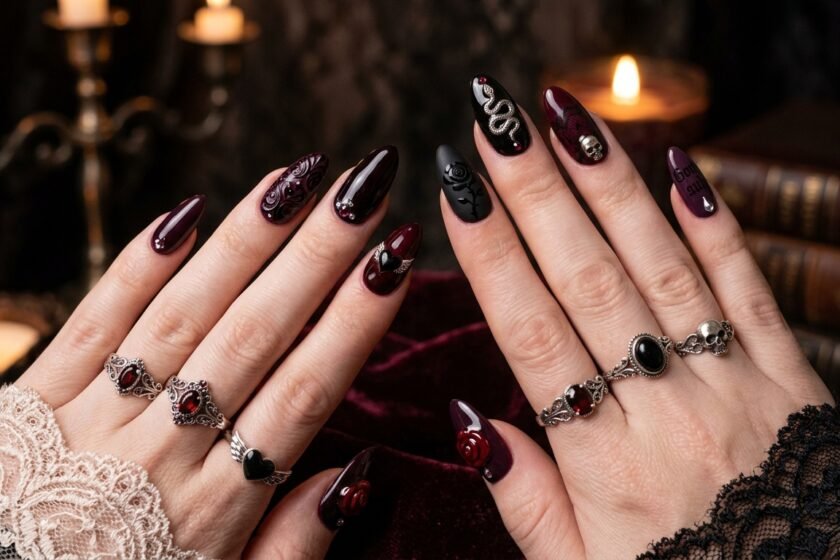
Black Lace on Nude — The Gothic Romance
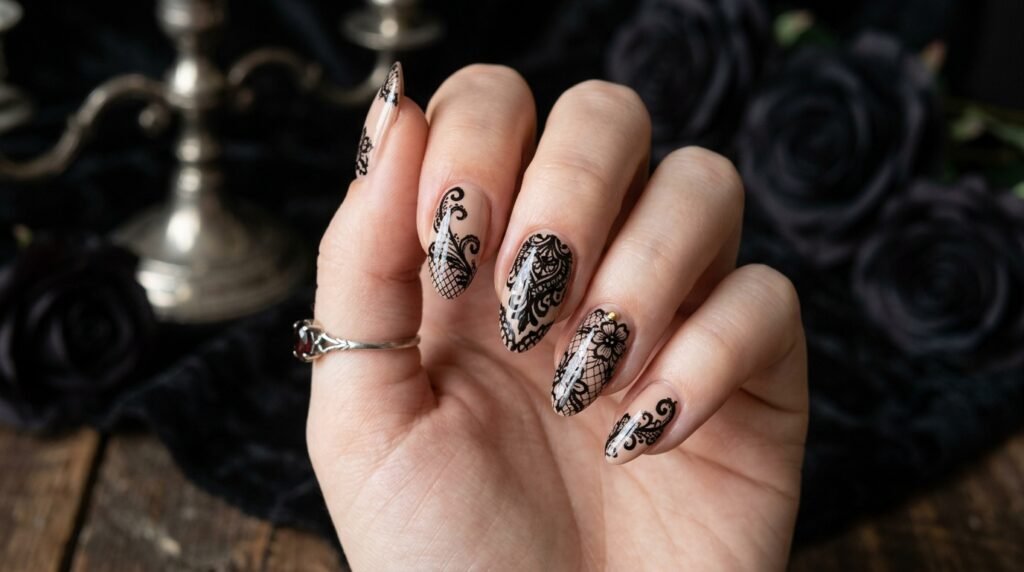
For a more dramatic and edgy interpretation of lace nails, try black lace patterns on a nude or cream base. This combination is darkly romantic and incredibly sophisticated — it brings a gothic romance aesthetic that is one of 2026’s biggest style movements. Perfect for evening events and anyone who loves a bold, unexpected look.
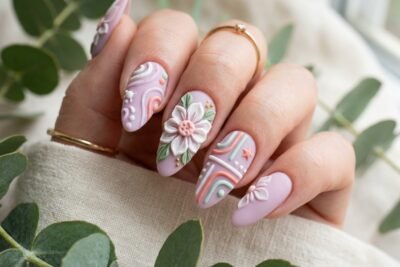
Colored Lace — The Trendy Modern Version
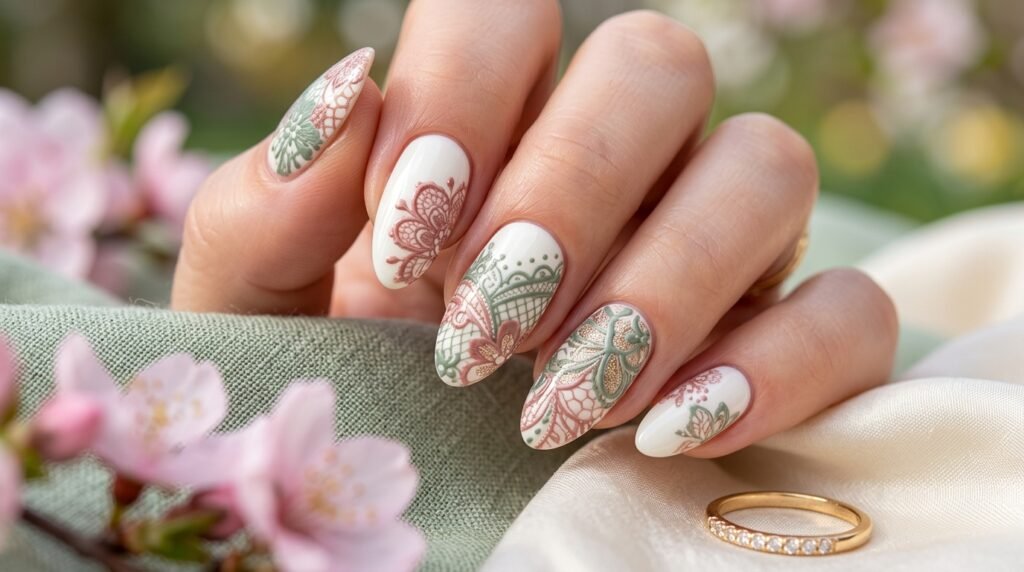
For a fresh, modern take on lace nails, try using colored polish for your lace patterns instead of the traditional white or black. Sage green, dusty rose, lavender, or gold lace on a contrasting base creates an incredibly unique and fashion-forward look that is completely on-trend for Spring 2026.
⏱️ How Long Do Lace Nails Last?
The longevity of your lace nails depends on the method you use and how well you care for them:
- Lace stickers with regular polish: 5 to 7 days with proper top coat application
- Lace stickers with gel polish: 2 to 3 weeks
- Stamped lace nails: 7 to 10 days with regular polish
- Freehand lace with gel top coat: up to 3 weeks
To extend the life of your lace manicure, apply a fresh layer of top coat every 2 to 3 days, avoid prolonged exposure to water, and wear gloves when doing household chores.
❓ Frequently Asked Questions
Can complete beginners do lace nail art?
Absolutely! The sticker method is designed specifically for beginners and requires zero artistic skill. Simply apply the sticker over your base color and seal with top coat — that’s it! The stamping method is also beginner-friendly once you practice a couple of times on a nail wheel or paper before attempting it on your actual nails.
Do I need gel polish for lace nails?
No, you do not need gel polish! Regular nail polish works perfectly well, especially for the sticker method. Gel polish will make your lace nails last longer, but it is completely optional. Start with regular polish and upgrade to gel when you feel more confident.
What nail shape is best for lace nail art?
Almond and oval shapes are the most popular for lace nail art because the tapered tips frame the lace pattern beautifully. However, lace designs look gorgeous on square, squoval, and even stiletto shapes too. The most important thing is that your nails are a reasonable length so the pattern has space to shine.
How do I remove lace nail stickers?
Soak a cotton pad in nail polish remover and hold it on your nail for 30 seconds, then gently wipe away. The sticker should slide off easily. For gel-sealed lace nails, wrap each finger in foil with an acetone-soaked cotton pad for 10 minutes, then gently push off the softened product.
🌸 Final Thoughts
Lace nail art is one of those rare trends that manages to be both incredibly beautiful and surprisingly accessible. Whether you choose the quick and easy sticker method, the satisfying stamping technique, or the creative freedom of freehand painting — the results are always stunning.
The key to perfect lace nails is preparation — clean, smooth nails with a good base coat make all the difference. Take your time, enjoy the process, and don’t be afraid to experiment with different colors and styles.
We would absolutely love to see your lace nail creations! Share your photos in the comments below or tag us on Pinterest @OliviaNyssa. Happy creating! 💅✨


Leave a Reply