Rubberized 3D nail art is a raised-texture manicure made with a flexible, sculpting gel or rubberized product. It creates tactile bows, flowers, swirls, droplets, bows, and abstract ridges that sit above the nail. The look is expressive, but the best design depends on how much texture your routine can handle.
Choose the right level of texture
Low texture means one raised accent on each hand. Medium texture uses several nails with small details. High texture covers the set with sculpted elements and is best for short wear or special occasions. Tell your nail artist which level you want before choosing the motif.
10 rubberized 3D nail-art directions
1. Raised French tips
Use a neutral base with a sculpted white or pastel line. Keep the ridge narrow so it does not catch on fabric.
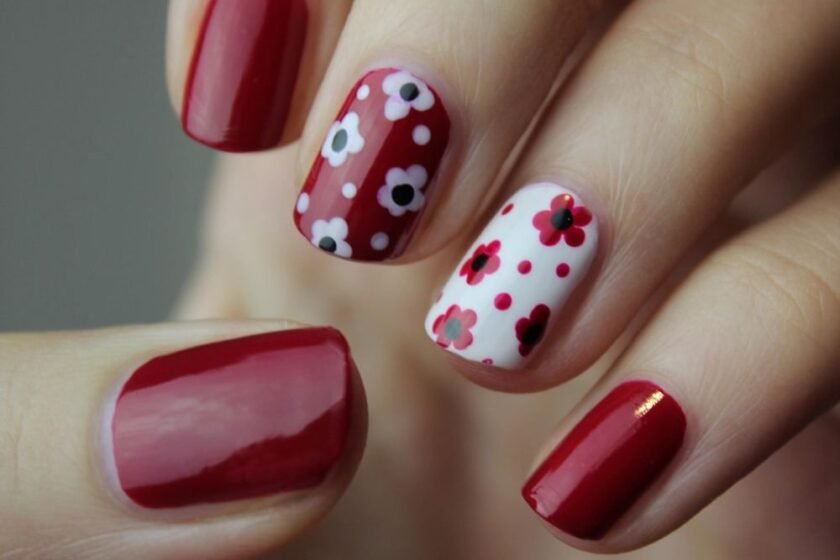
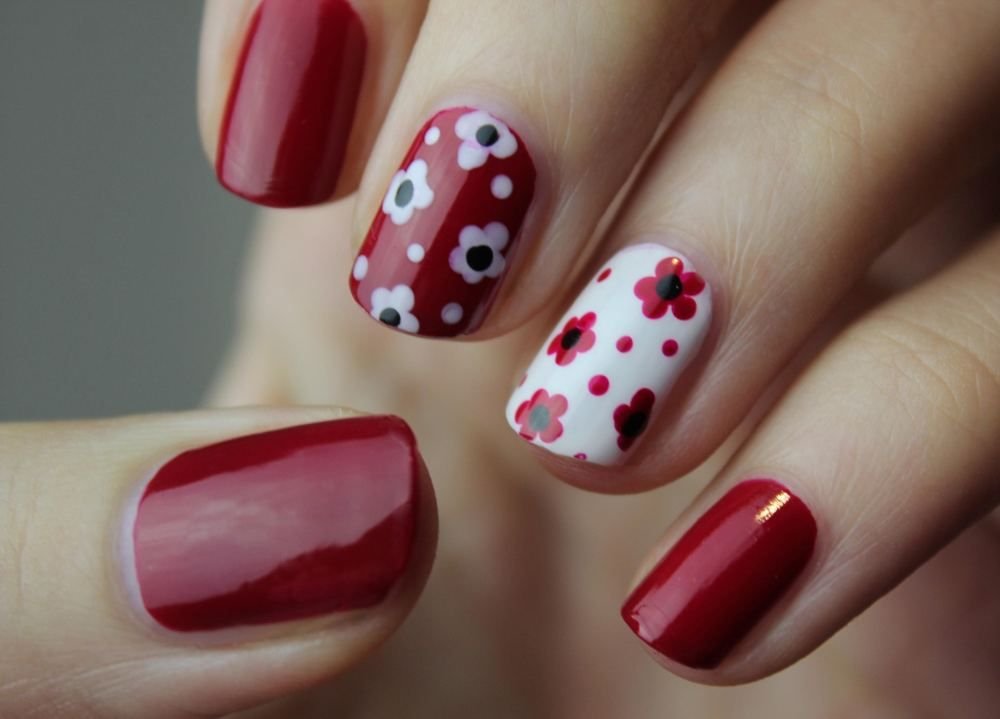
2. 3D floral accents
One flower on the ring finger or thumb gives dimension without overwhelming the manicure. A glossy center makes the petals stand out.
3. Sculpted bow nails
Small bows suit bridal, birthday, and coquette-inspired looks. Ask for a low profile if you type or work with your hands.
4. Textured chrome swirls
Raised silver or gold lines over a sheer base create a modern sculptural effect. Keep the background simple so the lines remain readable.
5. Droplet or glass effect
Clear raised dots over a colored base resemble water droplets. This is a wearable way to try texture without a large motif.
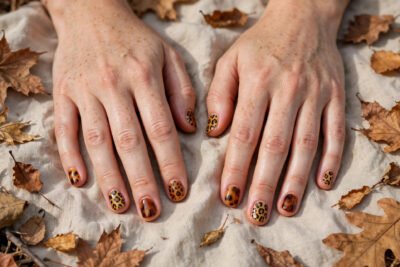
6. 3D animal-print ridges
Use raised lines in a restrained palette rather than combining several colors. One or two accent nails usually look more polished.
7. Ribbed or knitted texture
Fine parallel ridges create a cozy effect for cooler seasons. Seal the edges carefully because deep grooves can collect product and dust.
8. Sculptural fruit or charm details
Tiny cherries, strawberries, or hearts are playful for a short-term set. Keep them away from the nail edge to reduce snagging.
9. Tonal 3D art
Use one color in matte and glossy finishes. The light reveals the relief while the palette stays sophisticated.
10. One statement nail
Make one nail the artwork and keep the others glossy or micro-French. This is the easiest version to maintain.
Rubberized 3D versus flat nail art
| Consideration | Rubberized 3D | Flat art |
|---|---|---|
| Visual impact | Strong texture and shadow | Cleaner, more graphic |
| Maintenance | Needs more care around edges | Usually easier to keep smooth |
| Best use | Events and statement sets | Everyday, work, and active routines |
| Removal | Should be filed or soaked professionally | Still requires safe product removal |
How to make raised designs last
Start with a properly prepared nail and a balanced overlay. The sculpting product should be cured according to its manufacturer instructions, with no uncured material left around the cuticle. Keep the highest points away from the free edge, use gloves for cleaning, and do not use the nails as tools.
When to skip the trend
Choose flat art if you have a job that requires gloves, frequently handle delicate fabrics, or dislike the feeling of raised edges. If you notice lifting, redness, pain, or irritation, stop using the set and seek professional advice rather than covering the problem.
FAQ
How long does 3D rubberized nail art last?
Wear time depends on the base service, product, and routine. A well-applied set may last through a normal manicure cycle, but raised edges can wear sooner with heavy hand use.
Can rubberized 3D art be done on short nails?
Yes. Small flowers, dots, swirls, and one statement accent work better than large charms on short nails.
Is rubberized 3D nail art difficult to remove?
It may require additional filing or soak time. Have a professional remove it and never pull the raised material off the natural nail.


Leave a Reply