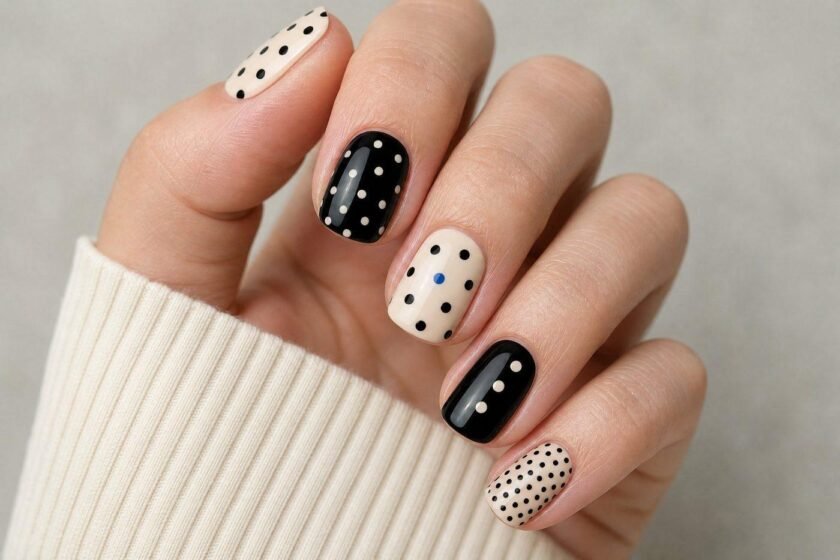
Polka-dot nails are having a renewed moment because the pattern can be playful or understated. The easiest way to make the look wearable is to choose the base, dot scale, and contrast before choosing the color. Short rounded nails with small dots feel delicate; larger dots on two accent nails create a statement without overwhelming the hand.
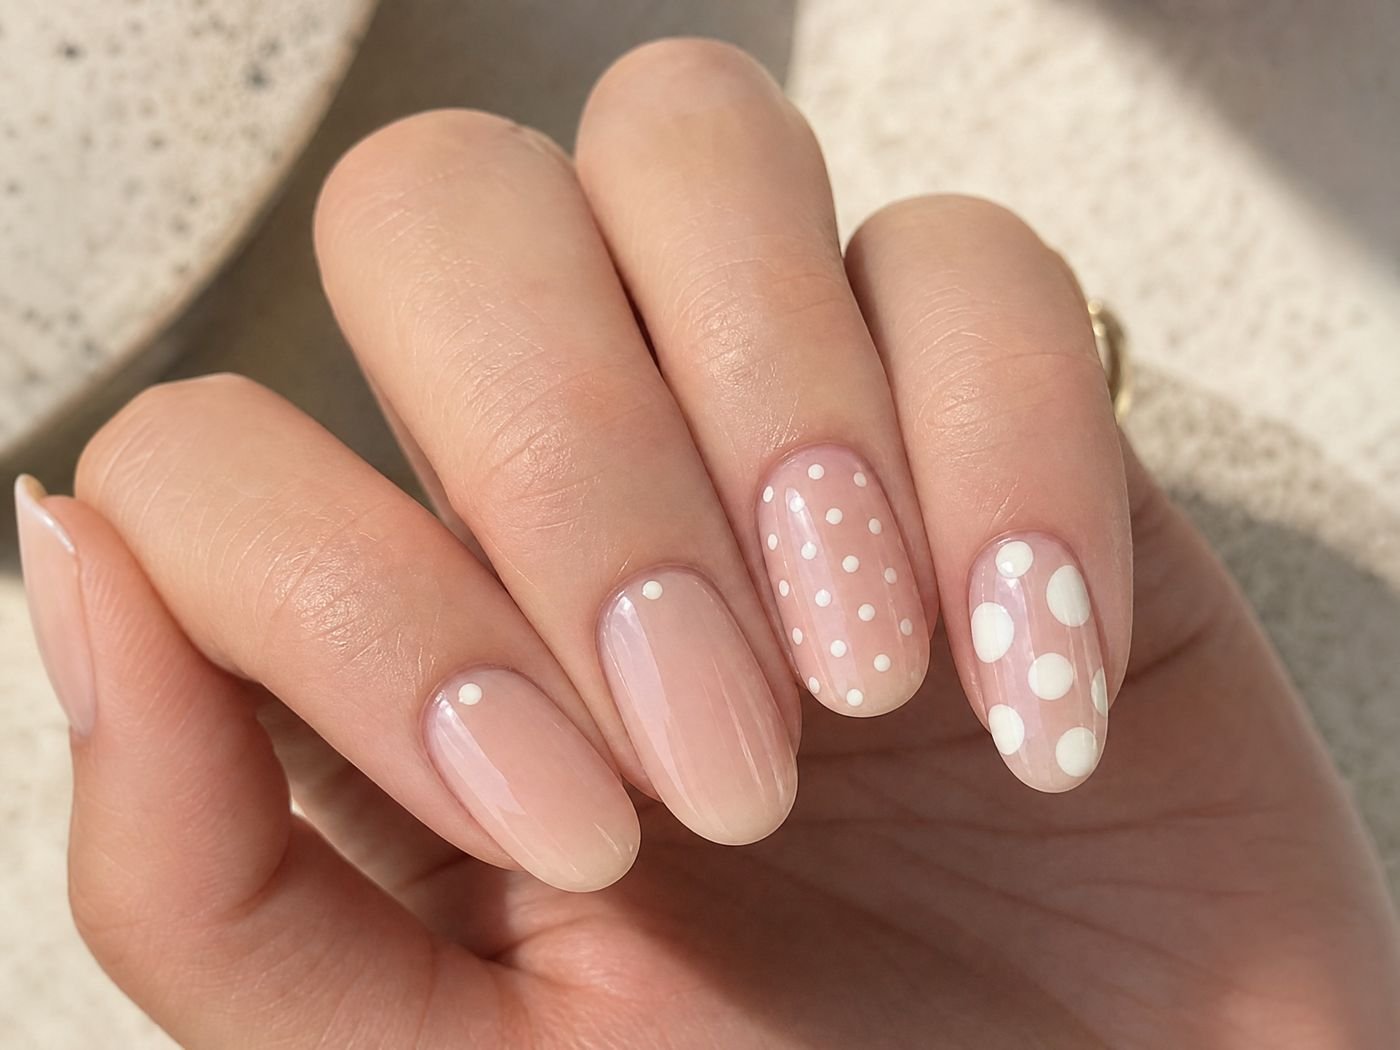
Choose the pattern scale
- Micro dots: subtle and ideal for short nails.
- Medium dots: versatile for alternating colors and negative space.
- Large dots: best on one or two accent nails.
- Mixed sizes: create a confetti effect when the palette is limited.
As a rule of thumb, the dot should occupy roughly a third of the nail width or less for an everyday look. Dots larger than half the nail read as playful and suit weekends, celebrations, or one accent nail rather than all ten.
Five wearable color combinations
Black and cream
A classic high-contrast option. Cream with black dots feels softer; black with cream dots feels graphic. This is the safest first polka-dot manicure because both colors coordinate with almost any wardrobe.
Chocolate and blush
Warm brown on pink-beige feels current and coordinates with neutral wardrobes. It is a natural next step after the black-and-cream pairing.
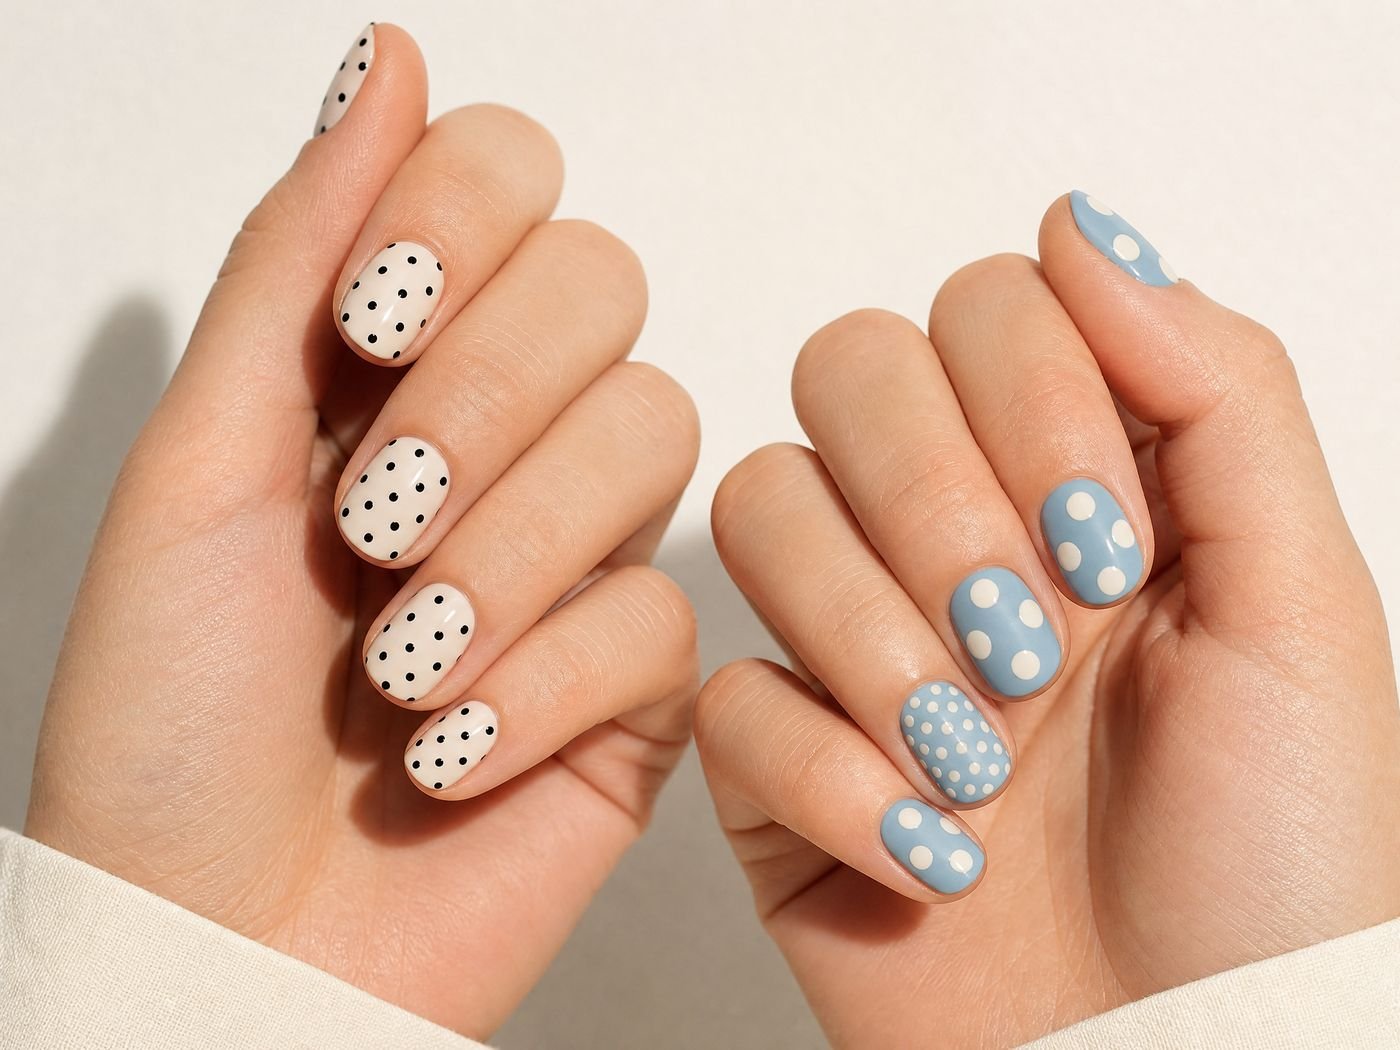
Blue and white
Navy, cobalt, or muted blue with white creates a crisp look. Use smaller dots for a polished finish. The combination photographs cleanly and pairs well with summer outfits.
Red and pink
Red dots over blush add energy for a date night or celebration. Keep the dots on two accent nails so the pairing stays festive instead of loud.
Tone-on-tone neutrals
Taupe and beige create a low-contrast starting point for anyone who normally wears solid polish. The effect reads as texture from a distance and pattern up close.
How to create clean dots
- Apply a smooth base and let it dry fully.
- Use a dotting tool or rounded bobby-pin end for different scales.
- Reload the tool between dots to avoid tails.
- Work from the center outward so spacing stays intentional.
- Seal with top coat after the dots are dry enough not to drag.
For a single accent nail, paint the full design on a silicone mat or plastic sheet, let it semi-dry, then lift and place it with tweezers. This technique avoids the hardest part of freehand work: keeping dots round while they are still wet.
Match the design to nail shape
Short rounded nails suit micro dots, vertical rows, and negative space. Squoval nails can handle alternating dots near the tip. Almond nails look balanced with a centered column or dotted French line. If the free edge is short, keep the pattern toward the center of the nail rather than crowding the edge.
Maintenance
Use a base coat to reduce staining and reapply top coat every few days. Keep polish off surrounding skin because lifted edges allow water underneath. For gel or acrylic, ask the technician to keep the surface smooth and follow proper soak-off removal. Dark base colors stain skin more readily, so clean the cuticle area while the polish is still fresh.
FAQ
Are polka-dot nails hard to do?
No. Imperfect spacing can look intentional. Start with two accent nails if you are new to nail art, or use the stamp-and-lift method with a silicone mat for perfect dots.
What base makes dots stand out?
Light cream or sheer nude gives the clearest contrast; taupe and beige create a softer effect. A matte top coat changes the mood entirely and makes tiny dots look printed.
How long do dot designs last?
Regular polish may last several days to a week depending on wear. Gel lasts longer when removed correctly. Re-sealing with a fresh top coat every few days extends both.


Leave a Reply